
Today I did a sewing project that has been on my list for a while. That always makes me happy. The reason it was on my list so long is because I had to figure out how exactly I wanted to do it. I wanted to cover the small toy box we keep in our living room. We use a small cardboard box. It was ugly since it was obviously a packing box. I had some leftover fabric from some curtains I made. I knew what I wanted to use just not how to do it. Then a couple of days ago the design hit me.

I wanted to be able to take the cover off because cardboard boxes tend to fall apart and in case it needed to be washed. My problem was how to make it removable but still stay on the box. I’ll show you how I did it.
First I measured my box. I cut a piece for the bottom that was 1/2 inch larger on all sides. So my box was 8″ square – I made the fabric 9″ square. Then I cut the fabric for the sides 9 x 14″. The box is 11″ tall, but I needed extra length.

Then I marked one-quarter inch from the edge on each side and sewed the sides to the bottom starting and stopping at the quarter inch mark.


Here’s the cover before I put the box in.

Then I sewed a casing for elastic.

I put the elastic in and then put the box in. The elastic holds the cover around the box, but it gives so that I can put the cover on and off.
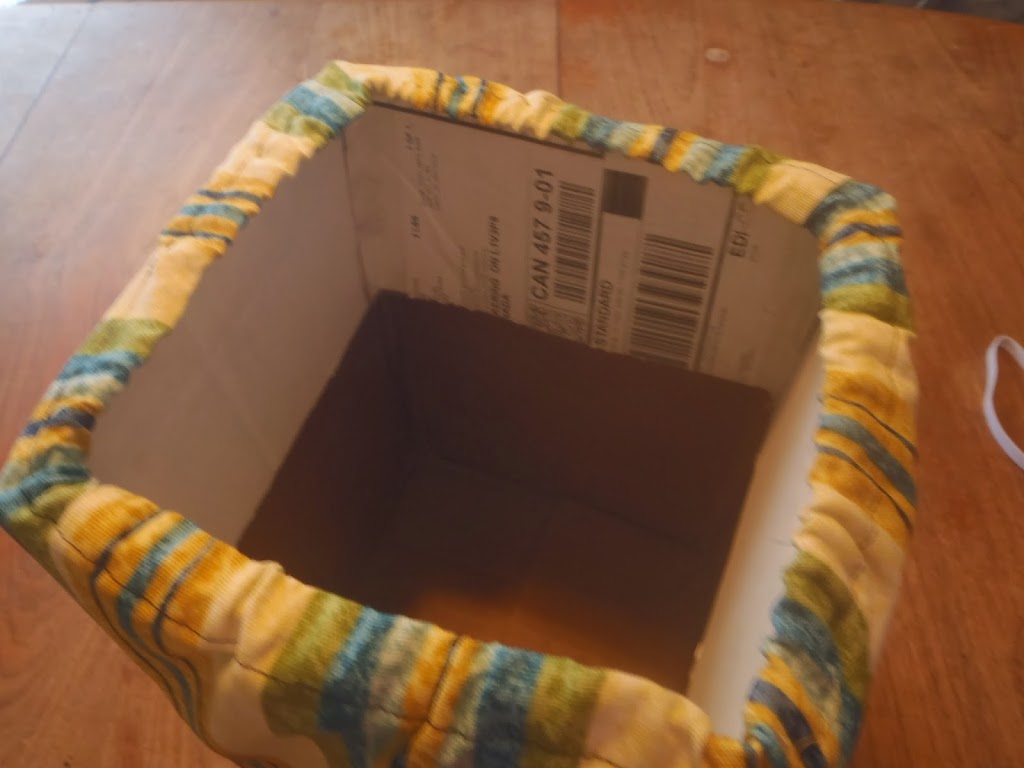
The finished product – doesn’t look like a toy box, does it?

And since I was in a sewing mode I decided to do another small project. I had a bath sheet that somehow got a hole in the middle of it. I didn’t want to throw it away because a big portion of the edges was still good. So I cut the useable parts into washcloth size squares and serged any raw edges. They’re not pretty, but they’ll do the job. Won’t be giving them to my guests so don’t worry if you come to visit, but my children won’t mind. ☺

What projects have you been able to cross off your list recently? It’s a good feeling, eh?

Great ideas. Sergers DO come in handy 🙂 I’ll have to remember that when I cut up old towels for rags 😉
LikeLike
and it’s quick – quick and simple 🙂
LikeLike
Simply adorable. I love it.Thanks for sharing.Blessings~Heather @ the Pintastic Pinteresting Party
LikeLike
Thank you and it’s holding up really well to being carted all over the house. 🙂
LikeLike
What a clever project! The possibilities are limitless with this idea! Thank you for sharing it on the Art of Home-Making Mondays 🙂
LikeLike
There are so many uses for covered boxes, and this is a simple way to cover them.
LikeLike
What a great idea! Such an easy and inexpensive way to create a toy box for kids. Love it!
Thanks for sharing on the Shine Blog Hop!
LikeLike
Thanks for stopping by. This was a fun project.
LikeLike