
My daughter had an ugly binder so I told her I would cover it for her. In the past I have done the kind of covers where it’s glued right to the binder, but this time I wanted something she could move to another binder when hers wore out.

To start with you need two pieces (one is the cover and one is the liner) of fabric cut one inch longer and one inch taller than the binder. You will also need two pieces for the pockets to put the binder ends in. I made these the same height as the pieces for the binder and about 5 inches wide.

Then I hemmed one long side on each “pocket” piece and laid it on my lining fabric.

I laid the cover fabric right-side down on this. Here I’ve pulled it back a little so you can see that I have right sides facing each other. I sewed all the way around leaving a two-inch opening for turning.

Before turning I trimmed the corners so they would look neater when turned.

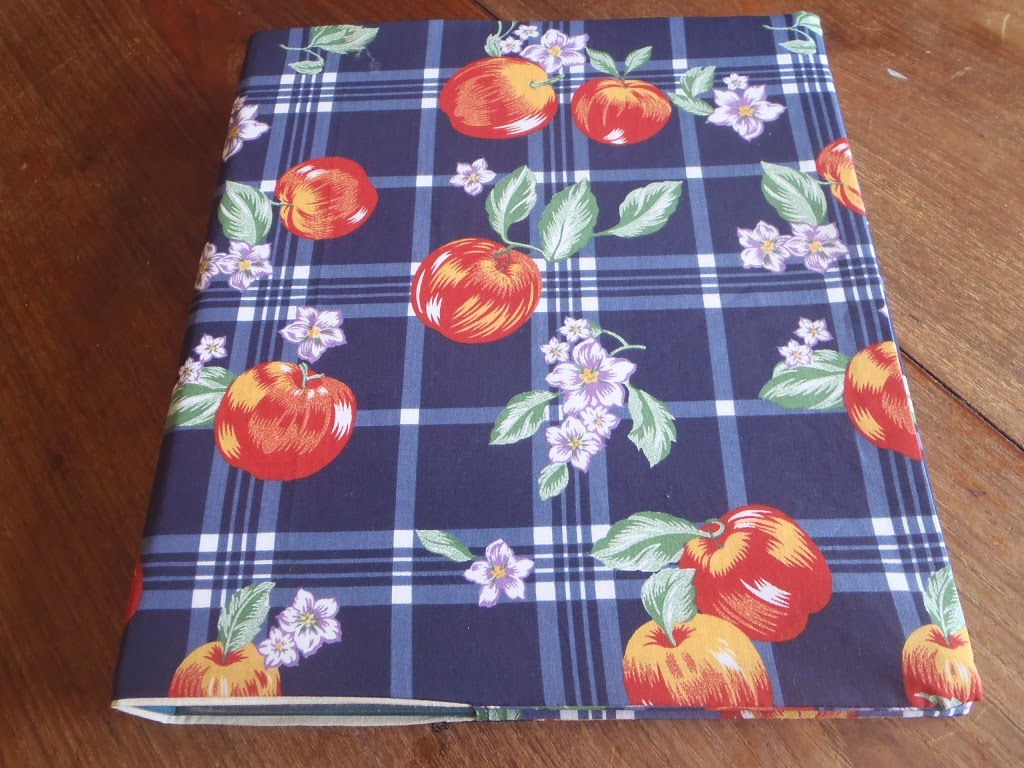
I turned it and inserted the binder.
I felt the front needed something more so I started to play around with fabric scraps. I cut out these apple and apple blossom pieces and covered them in modge podge so they wouldn’t fray.

Then I cut an “E” from fleece (it doesn’t fray) and hot glued all the decorations to the front.

We were both pleased with the results. I recently made another one for her sister. I used the skirt of a ruffled skirt. I made the dress years ago for my oldest daughter but the bodice is stained now so I thought I would put the skirt to use. Here’s the result…

Have you ever covered a binder?
Linked to: Art of Homemaking, Made by You Mondays, Handmade Tuesdays, Titus 2 Tuesday, SHINE, Hearts for Home

I really like the re-purposing idea Jennifer! You’ve explained really well how to do the job in your tutorial and we have lots of “ugly” folders desperate for a makeover here!
LikeLike
Thanks, Lisa. I like making functional things pretty too.
LikeLike
Yes, I have covered a binder before; however, it was covered with paper. Using fabric as you did is so MUCH nicer.Rachel recently wrote How to Find Your Niche
LikeLike
and it lasts a lot longer.
LikeLike
No I always let you when we were younger. Lol I actually found a similar similar pattern online and was going to teach Tim to make them as book covers for his sisters.
LikeLike
You go, Tim.
LikeLike
What a fun project! I am a binder person so I could see myself making some fun covers. I love the fabric you chose too!
LikeLike
Choosing the fabric is half the fun. 🙂 Thanks for stopping by.
LikeLike
Hi there! Visiting from the SHINE Blog Hop. This is a really cute idea to make otherwise boring binders fun! Thanks so much for sharing!
LikeLike
And the binders are then personalized too. I’m glad you like this.
LikeLike
Well that is sure cute! What a great idea and I love how you could personalize this!
Thanks for sharing on the Shine Blog Hop!
LikeLike
I like the personalization too. With eight children it’s super important to have their own things.
LikeLike
I love this idea and the great step-by-step photos. I have some binders I might try this on!
LikeLike
Thanks for stopping by. I’m glad you enjoyed this.
LikeLike